How to Format SD Card as Internal Storage: A Step by Step Guide
Aggiornato il 07/03/2025 • Archiviato in: Formatta e cancella scheda • Soluzioni comprovate
Get to know how to cost-effectively expand your smartphone's internal memory by simply formatting your SD card as adoptable internal memory in this guide. Also covered is how to recover data from an SD card formatted as internal storage.
This is a question posted on a leading Android online forum regarding the possibility of formatting an SD card as internal memory and the issues users may encounter. While this Android hack is receiving positive recommendations, not all users are excited about it. Should you face the ever-annoying 'Low Storage' prompt on your phone, then worry not for you can simply format your SD card and vastly boost your phone's internal storage. Carefully read this simple guide on how to format an SD card as internal memory and expand your smartphone's internal memory.
- Part 1: Why Would You Format SD Card as Internal Storage?
- Part 2: Difference between Internal Storage and Adoptable Storage
- Part 3: How to Format SD Card as Internal Storage on Android
- Part 4: How to Format SD Card as Portable Storage Again
- Part 5: How to Recover and Repair Data from SD Card Formatted as Internal Storage
Part 1: Why Would You Format SD Card as Internal Storage?
Mobile phone internal memory does baffle a lot! It doesn't matter whether your phone boasts internal storage of 32 or 64 GB. This is because within no time at all, your phone alerts you that your memory is running out! Chances are that your device, like almost all others, has a MicroSD card slot. As such you may consider augmenting the internal storage with adoptable memory. This is by simply formatting your SD card for use as internal phone storage.
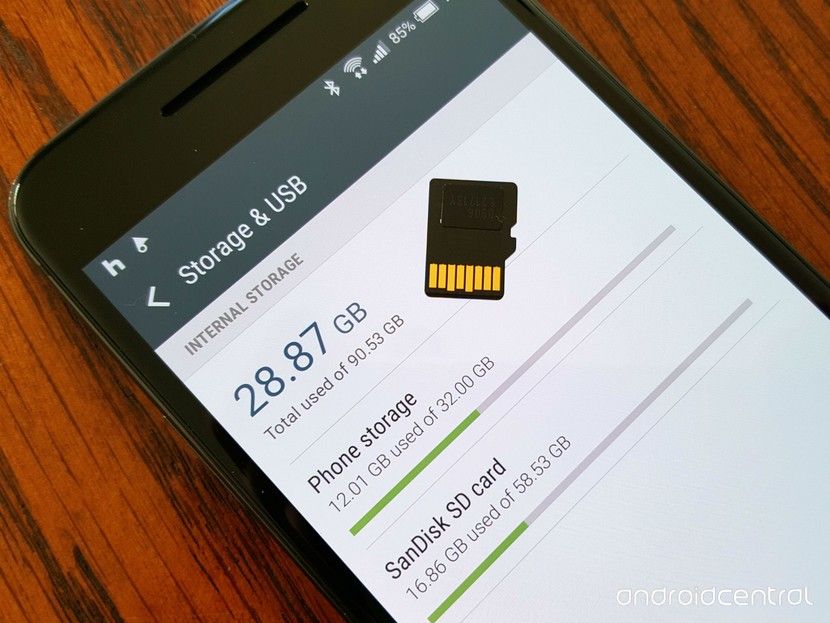
If for instance your smartphone has an internal storage of 32 GB and you want to boost that with a 32 GB microSD card, it may add up to 64 GB of internal memory. But then how do you format your SD card for use as extra internal storage? It is important to figure this out to better manage your smartphone's storage.
Part 2: Difference between Internal Storage and Adoptable Storage
Formatting an SD card for use as additional internal storage is always an indication that your needs have exceeded your current system. But what is internal storage? As the name suggests, Internal Storage is storage found within the smartphone system. It is inbuilt storage and for a long time has been fixed. However, with advances in technology, phones running on the Android 6.0 Marshmallow have an added feature that enables users to expand their internal storage using MicroSD cards.
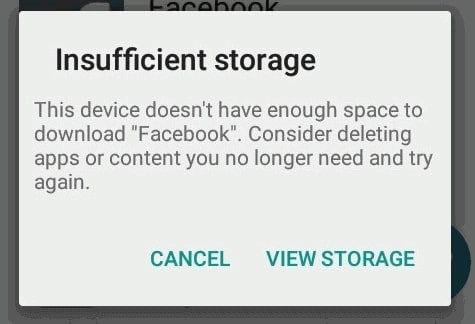
Internal storage is the location where manufacturers install a smartphone's operating system as well as various pre-installed applications and their data. Due to the default nature of their location, these apps and their data are normally non-transferable on to external memory drives. This is unlike other files like photos and audio or video files. As such you may still get a prompt indicating low storage despite having a MicroSD card in your phone, especially when attempting to install applications that take up large chunks of your internal memory.
This is where the need to increase your phone's internal memory comes up. Since the option of going into the market for a smartphone that has a larger inbuilt memory may not always be practical due to monetary constraints or the difficulty of letting go of your phone, you need a credible Plan B. Now what other plans could beat the simplest one of all? Simply taking your trusty little SD card and popping it into your phone, formatting it, and adapting it as part of your internal storage! As indicated earlier the good news is that most recent Android phones have the added feature of enabling you to boost your phone's internal storage using a MicroSD card.
Now you may be asking about the benefits you get from adopting that SD card as part of your phone's internal storage. Well, here is why. First of all, you get to install way more apps on your phone while avoiding that annoying 'Low Storage' prompt that has stopped you from installing your favorite games. Secondly, you get to update your apps and or phone operating system and not miss any trending updates. But here is the kicker: you most importantly get to avoid disposing of your smartphone and purchasing a new one just to gain a few extra gigabytes of storage! Imagine buying a new phone for hundreds of dollars compared to formatting that cheap MicroSD card, which you may already have, and gaining the same amount of internal storage or even more! How is that for a no brainer?
Part 3: How to Format SD Card as Internal Storage on Android
By now you may be wondering how you too can take advantage of this cool smartphone hack and save yourself some precious cash. Well, then here is the deal. You can do it yourself and never rely on a technician to do it for you. The steps to format your SD card for use as adoptable internal storage are extremely simple.
- First, you need to ensure that you have a smartphone that supports adoptable storage
- Secondly; you have to source a good quality SD card with high speed and the storage capacity you desire.
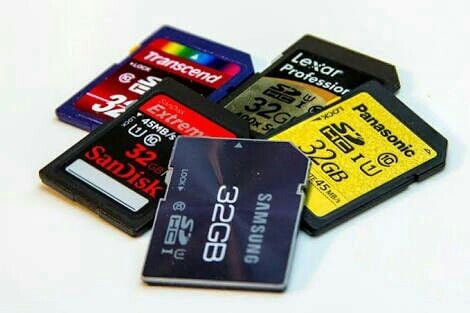
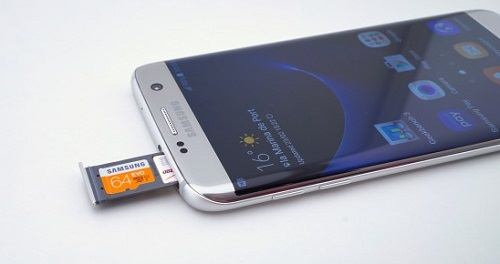
- With your SD card in hand, proceed to insert it into the SD slot in your phone
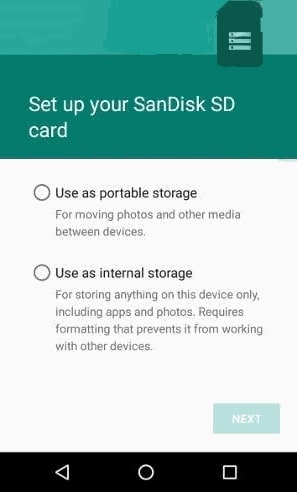
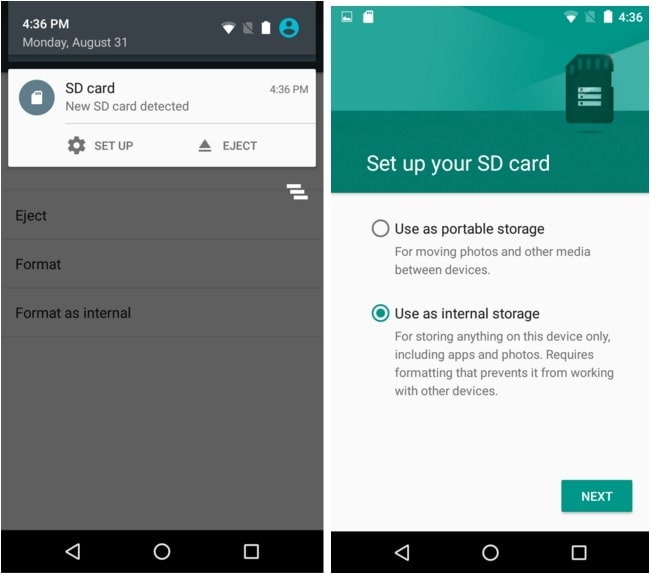
- Once you insert the SD card your phone will detect it and prompt you to set it up. Here you choose the option to use the card as internal storage
But why is it important to use a MicroSD card with high speed? This is simply because a slow SD card will reduce the overall speed and performance of your phone. And we all know how annoying slow devices can get!
Part 4: How to Format SD Card as Portable Storage Again
After using your MicroSD card as internal storage you may acquire a newer device or decide to reclaim your card for use as portable storage in a different phone. As such you may worry whether you will be able to undo your previous action of formatting your SD card as internal storage. The good news is yes you can! And the even better news is that the steps are similarly simple.
- Simply go to the "Settings" tab on your phone
- Select "Storage and USB"
- Choose the desired SD card and select "Use as Portable"
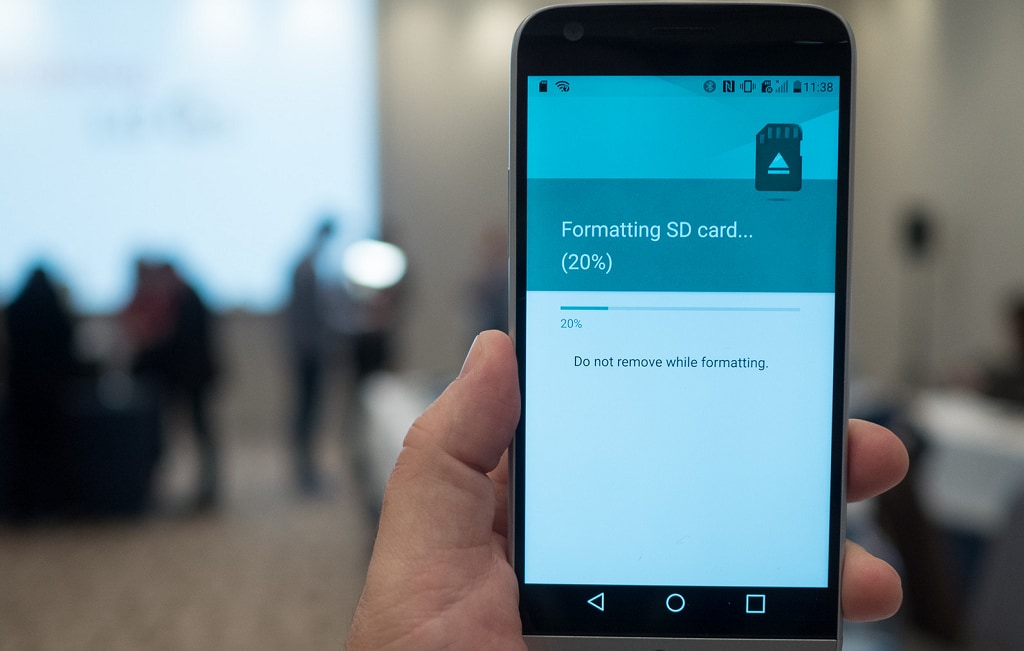
Here is what you need to always remember though. Formatting your MicroSD card as internal storage or reversing the process does one thing. It erases every bit of data that is contained in that SD card. Therefore, it is important to always create backups of all your valuable data. Some data may be irreplaceable and invaluable memories.
Part 5: How to Recover and Repair Data from SD Card Formatted as Internal Storage
However much you try to be careful to not delete data from your MicroSD card, mistakes happen. When that happens, some people go crazy over the invaluable data they have lost! You, on the other hand, will not be spotted racking your brains helplessly. Instead, you will put your trust in the superb software aptly named Recoverit. Recoverit Data Recovery will make the recovery of your deleted data so simple. This is in addition to repairing any damaged files upon successful recovery.
You may be feeling skeptical about the Recoverit Data Recovery software so let us first allay any fears you may have. First of all Recoverit Data Recovery is a product of Wondershare which is a globally trusted data recovery company with operations going as far back as 2009. It is, therefore, safe to assume that the people who developed Recoverit truly know what they are doing as far as data recovery is concerned. This software has also been reviewed and accepted by several companies and online tech forums including Yahoo, TechAdvisor, TheWindowsClub, Softonic among others.
That aside let us now delve into how the Recoverit software works. Let us take the example of a MicroSD card whose video files were mistakenly lost through formatting and you the owner need your files back. The steps to accomplish that are as follows:
Step 1. Select a Location
To start the process, you first have to launch the Recoverit software and wait for it to load the various drives within the system. Once you can see the drives go ahead and choose the one which contained the video files that need recovering.

Step 2. Scan the Location
Scanning the location means you select the drive and hit the Scan button. This instructs the software to dive into the formatted MicroSD card and look for traces of any files that were previously deleted.
Step 3. Wait for Scan to Complete
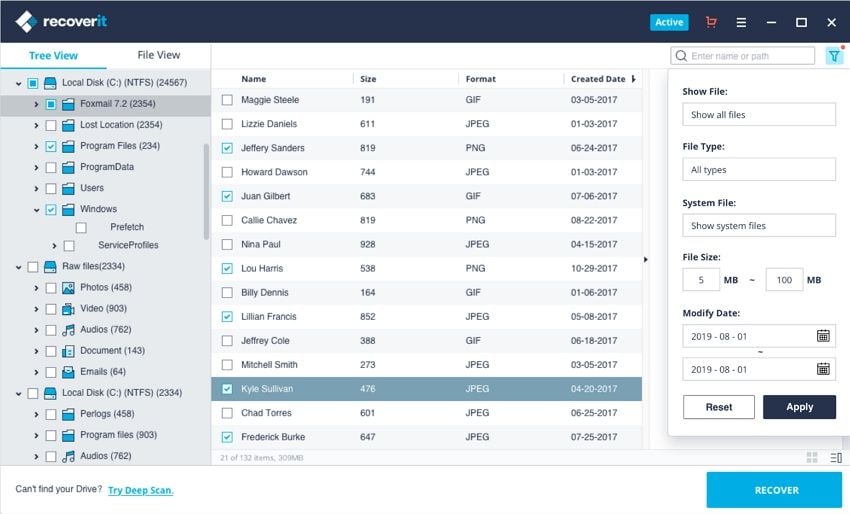
Depending on the storage capacity of the SD card and the volume of items, to be scanned and ultimately recovered you may have to wait for a few moments for the software to complete scanning the drive. Upon completion of the scan, the software will open a pop up informing you of the number and type of files found. These may include MP4, JPEG, MP3, and any other file types.
Step 4. Preview the Files
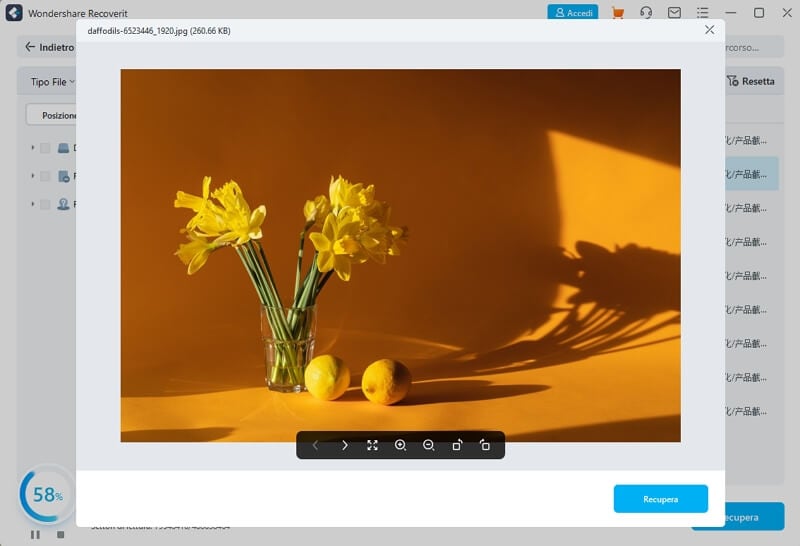
Once you have identified the files, you wish to recover you first need to preview them just to be sure and additionally check for any errors in the video files. If the files are to your satisfaction then by all means just go ahead and click on the Recover button and wait to have your videos back like they never left!
However, it has been observed that video files are unique. They are quite different from other data types in that they tend to get corrupted easily. This corruption may lead you to despair but luckily the people over at Recoverit are always thinking ahead and have a solution for you. Drum roll, please! Introducing the one and only Recoverit Data Recovery Ultimate feature that lets you repair your video files with the click of a button. The Advance Video Recovery alerts and enables you to repair video files by scanning, gathering, and matching fragments of your corrupt videos. This means that you get to recover virtually all your deleted or corrupted files from your SD card.
Video Repair is one of the most powerful video repair software that does wonders in repairing corrupt, broken, or damaged MOV, MP4, M2TS, MKV, MTS, 3GP, AVI, and FLV file formats. It accomplishes this via two modes. The first mode is Quick Repair which repairs several video errors. Then there is Advance Repair which can repair your corrupt videos by deeply analyzing the data and technology of a sample video shot by the same device and applying that data to the corrupt file. Other benefits of using the Advance Video Recovery feature include:
- Ability to repair multiple formats of videos simultaneously
- It is free to scan for corrupt video
- There are no limitations on the size of video files to be repaired
All these video repair work sounds tedious, right? The answer is NO. Just like in the process of video recovery you can easily repair corrupted video files by following the steps below:
Step 1: Add your corrupted videos
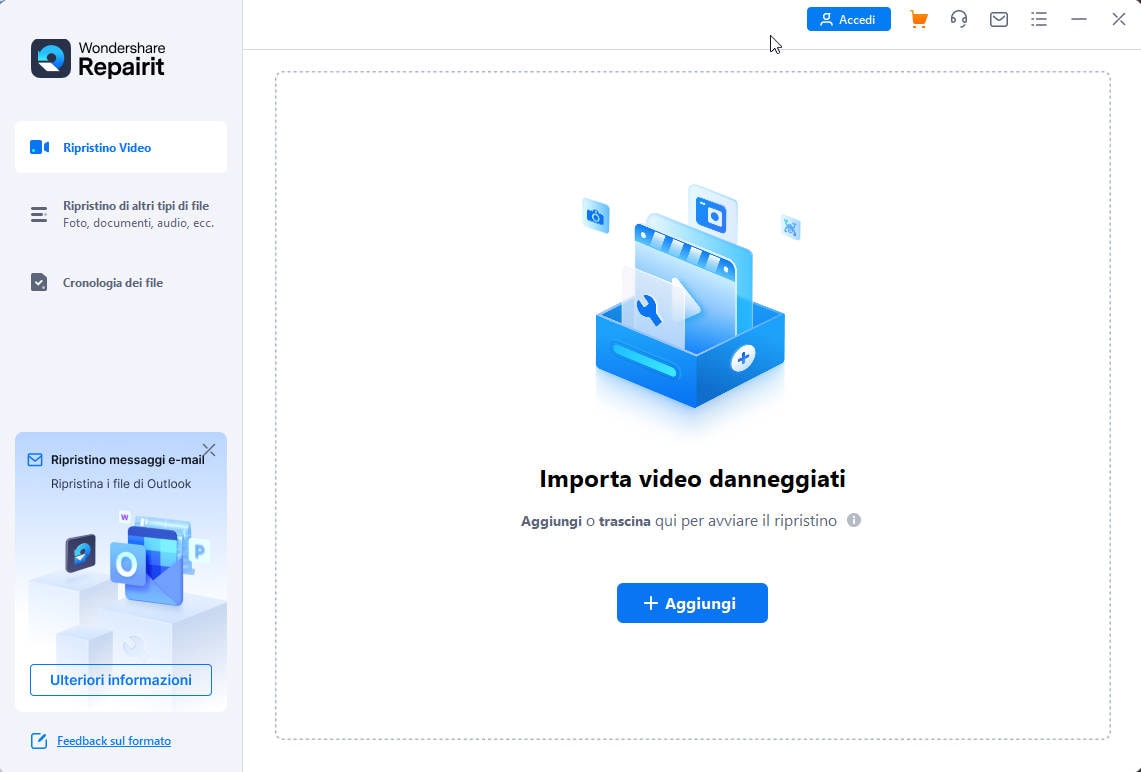
Launch the application on your computer. To repair your corrupted video files, you can add it through clicking the Add button or "Add video and start repairing" area.
Step 2: Repair your videos
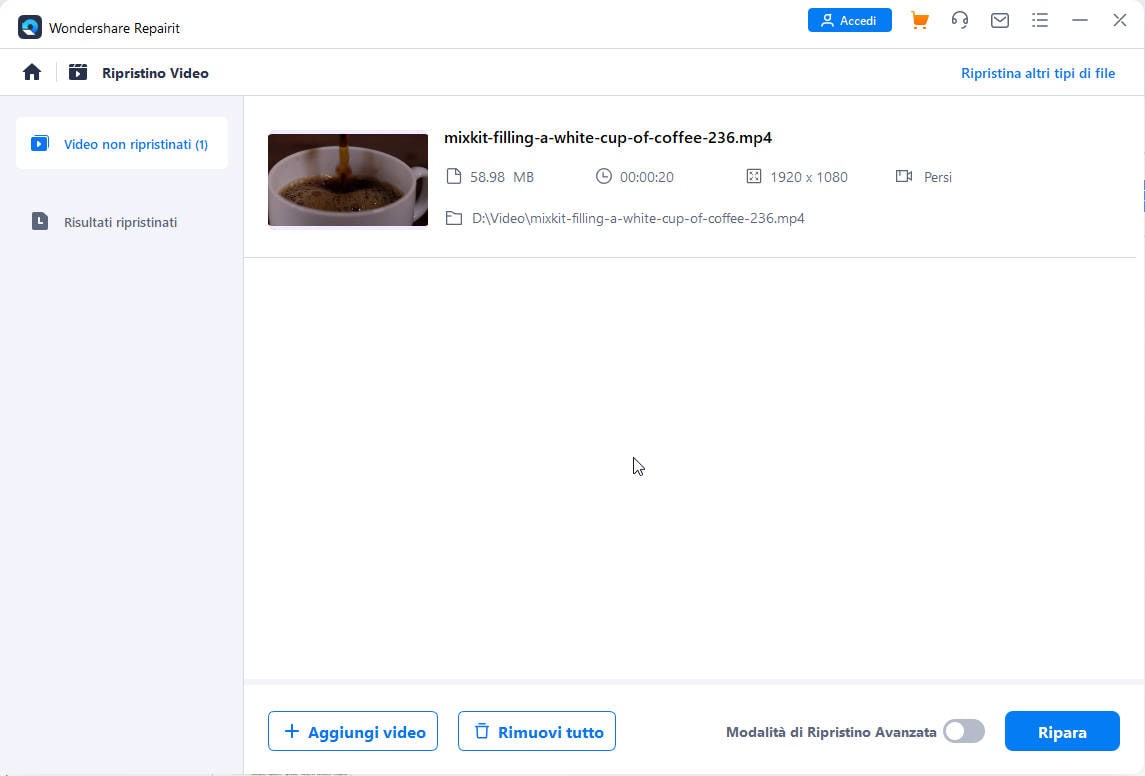
As soon as you have added all the corrupted videos, click on the Repair option to start the video repair process.
Step 3: Preview the videos
It will take some time to repair and once it has finished the repair process, a reminder showing info of successful fix will pop up on the screen. Press OK to close the operation.
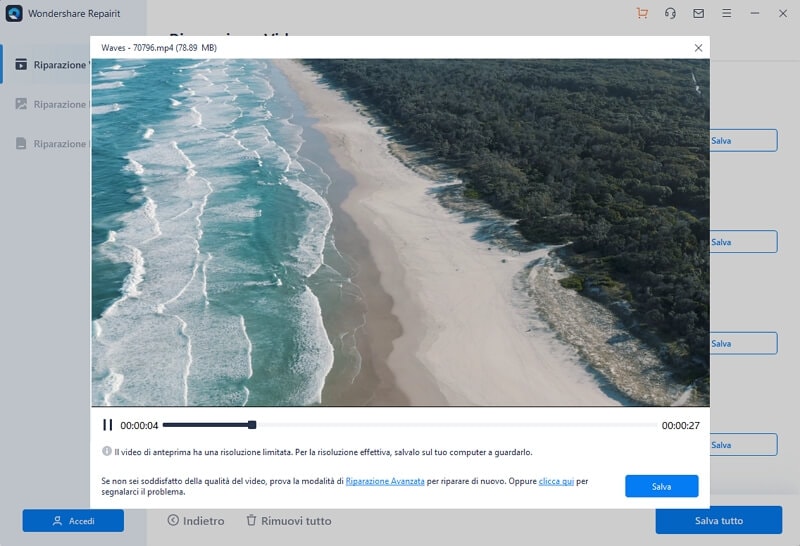
Step 4: Advance mode for severely corrupted video (optional)
If the videos are severely corrupted and not repaired successfully, please go to the advanced repair mode. Just click the Advanced Repair button.
Then add a sample video and repair it now.
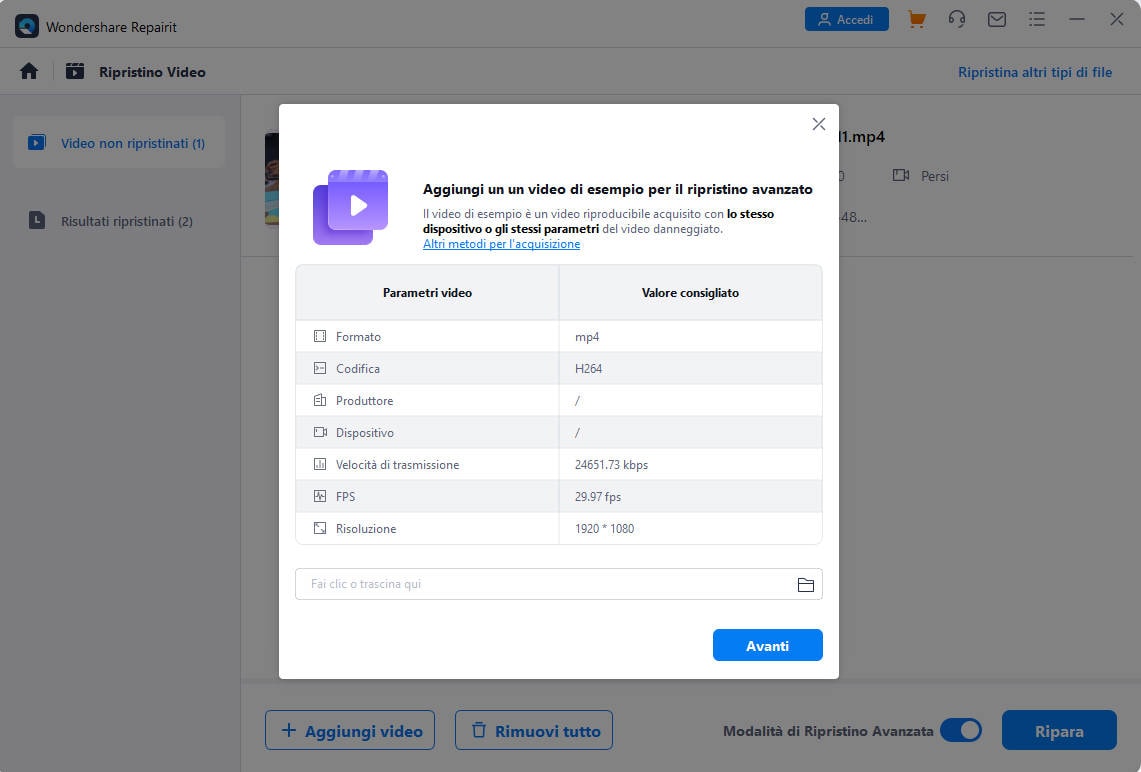
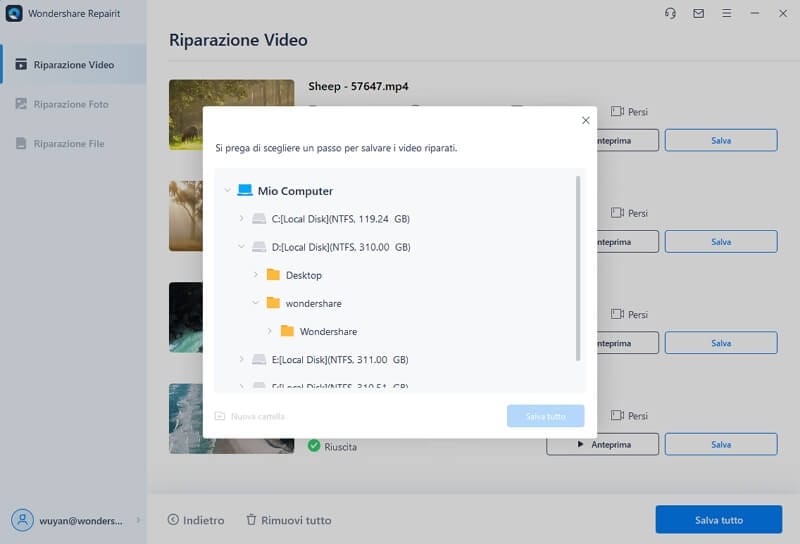
Step 5: Save repaired video
The advance repair will perform the repairing process and prompt a success message when the process is completely done. Now, you can play these videos and you will not see any error on the screen.
At last, you have known how to format that SD card for use as internal storage. Moreover, you know for a fact that Recoverit will help you get back your lost data hassle-free. However, some people still wonder if after all this recovery work they will still get their photos and more importantly their contacts. The simple truth is Yes! All you need to do is select a path where your data got lost and the scan will launch automatically. If that does not get you what you need simply launch the All-Around recovery solution which searches for more data from your drive.
Another question people ask is about which Android phones support the formatting of SD Card as internal storage. As of now all smartphones using Android 6.0 Marshmallow have this feature including the Samsung Galaxy S7 Edge, Galaxy S7, and other recent models. LG is represented by the LG G5 and the Nexus 5X. Motorola also has models like the Moto E3 and the Moto G4. Other manufacturers running the Marshmallow include Xiaomi, Asus, OnePlus, Lenovo, Sony, and Oppo.
Recupero Memory Card
- Differenti Recuperi Memmory Card+
- Software gratis di recupero scheda SD
- Recupero di unità di memoria a stato solido
- Migliori software di riparare scheda SD
- Recupera file cancellati da scheda SD
- Recupera foto cancellate da Micro SD
- Recupero dati di scheda di memoria SanDisk
- Recupera video cancellato da scheda SD
- Altri suggerimenti su scheda SD+
- Scheda SD non rilevato
- Sblocca Scheda SD Protetta da Scrittura
- Scheda SD non mostra i file
- BIOS non rileva l'SSD nel computer


